A couple of weeks ago I wrote about EPU 1.0 and stated there would be a 2.0 soon. Here ’tis.
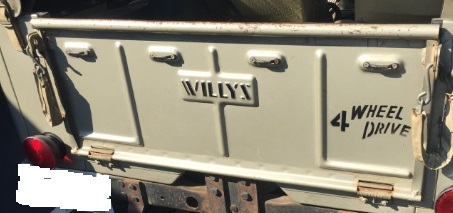
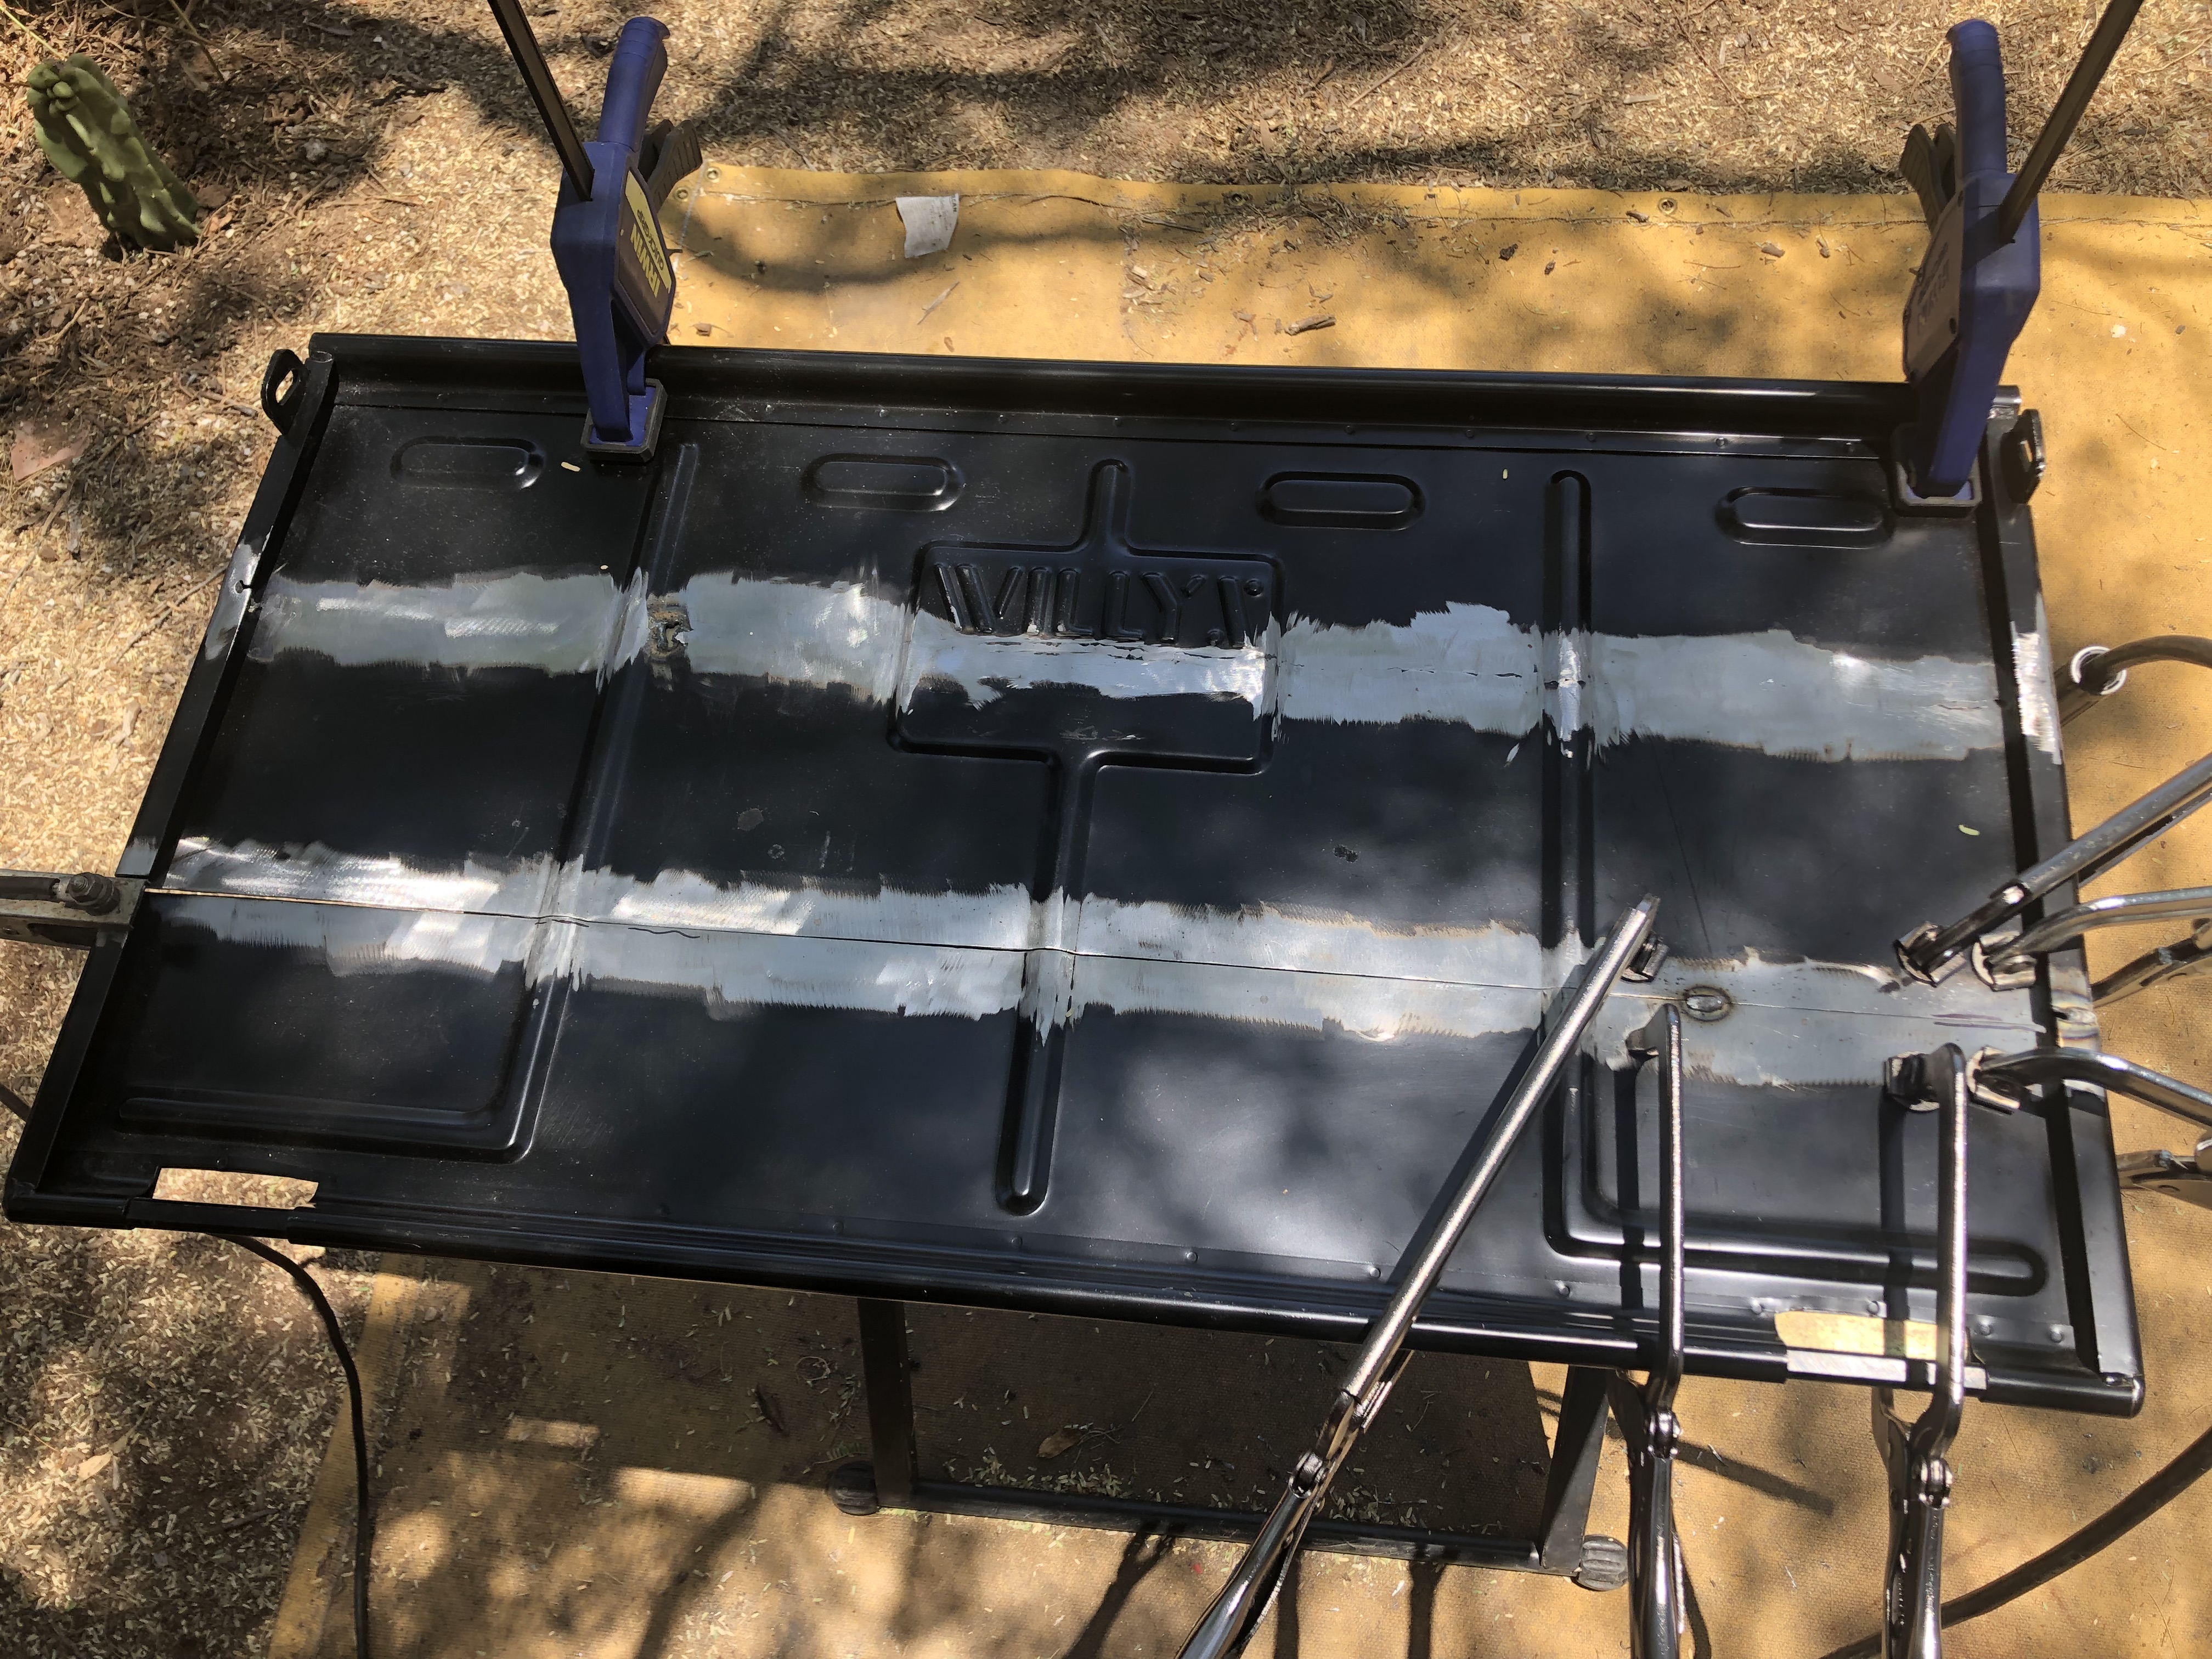
The original tailgate was too buggered up to be fixable, so I bought another pair of tailgates, one with the WILLYS logo and one without. I made the same cuts to them that I had made in V1.0, but this time I ground / sanded / filed the adjoining edges to produce a closer, tighter, thinner seam. I also worked with one seam at a time and clamped the bejeesus out of the welding area so it wouldn’t warp. When welding, I made sure (mostly – more on this later) not to weld too long a stitch, and to let it cool sufficiently before adding more weld. This photo shows the first seam in progress. The left end is welded and ground; the right is being welded, and the center hasn’t been started.
After I finished the first seam, I did the second. It looks good so far! You can see a “bobble” in the first seam, to the left of the logo panel. That’s one of the lessons I had to learn (again), and I decided to leave it in the finished tailgate as a badge of honesty.
I test-fitted it to the back of the ‘Monster several times while welding the second seam. I’m pleased to say that the tailgate DID. NOT. WARP. When I finished grinding and smoothing both seams, I test-fitted it again.
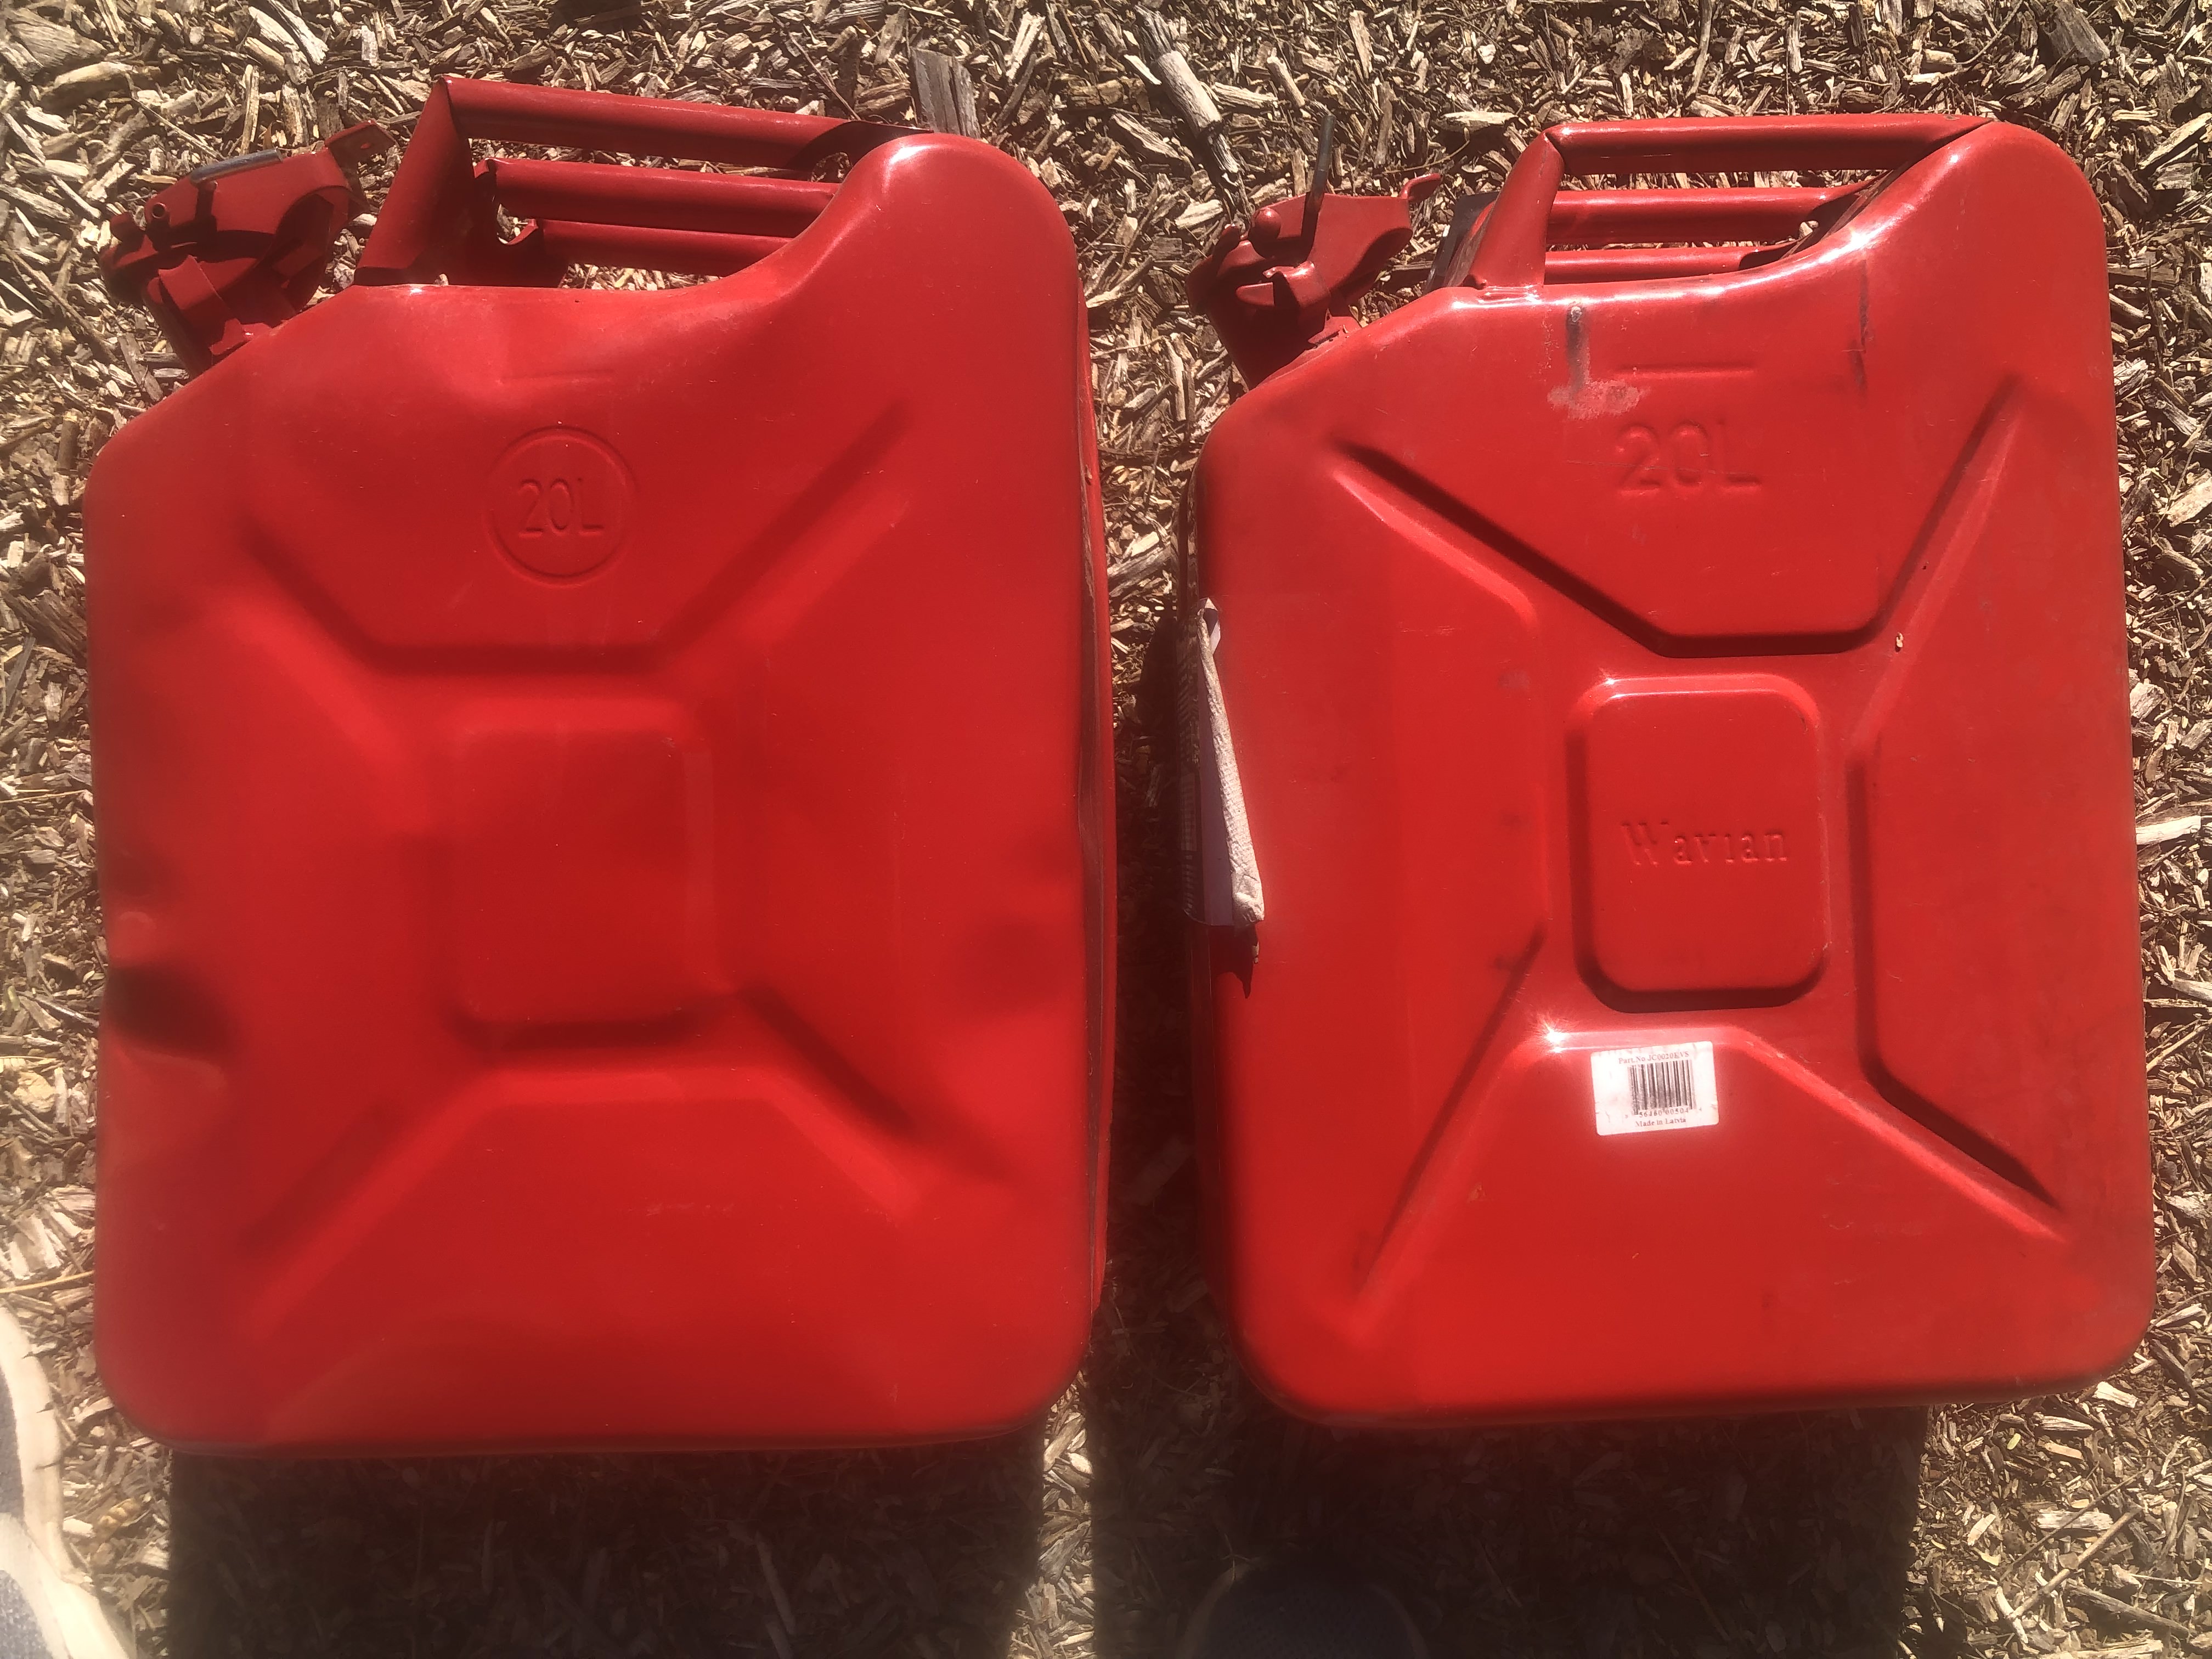
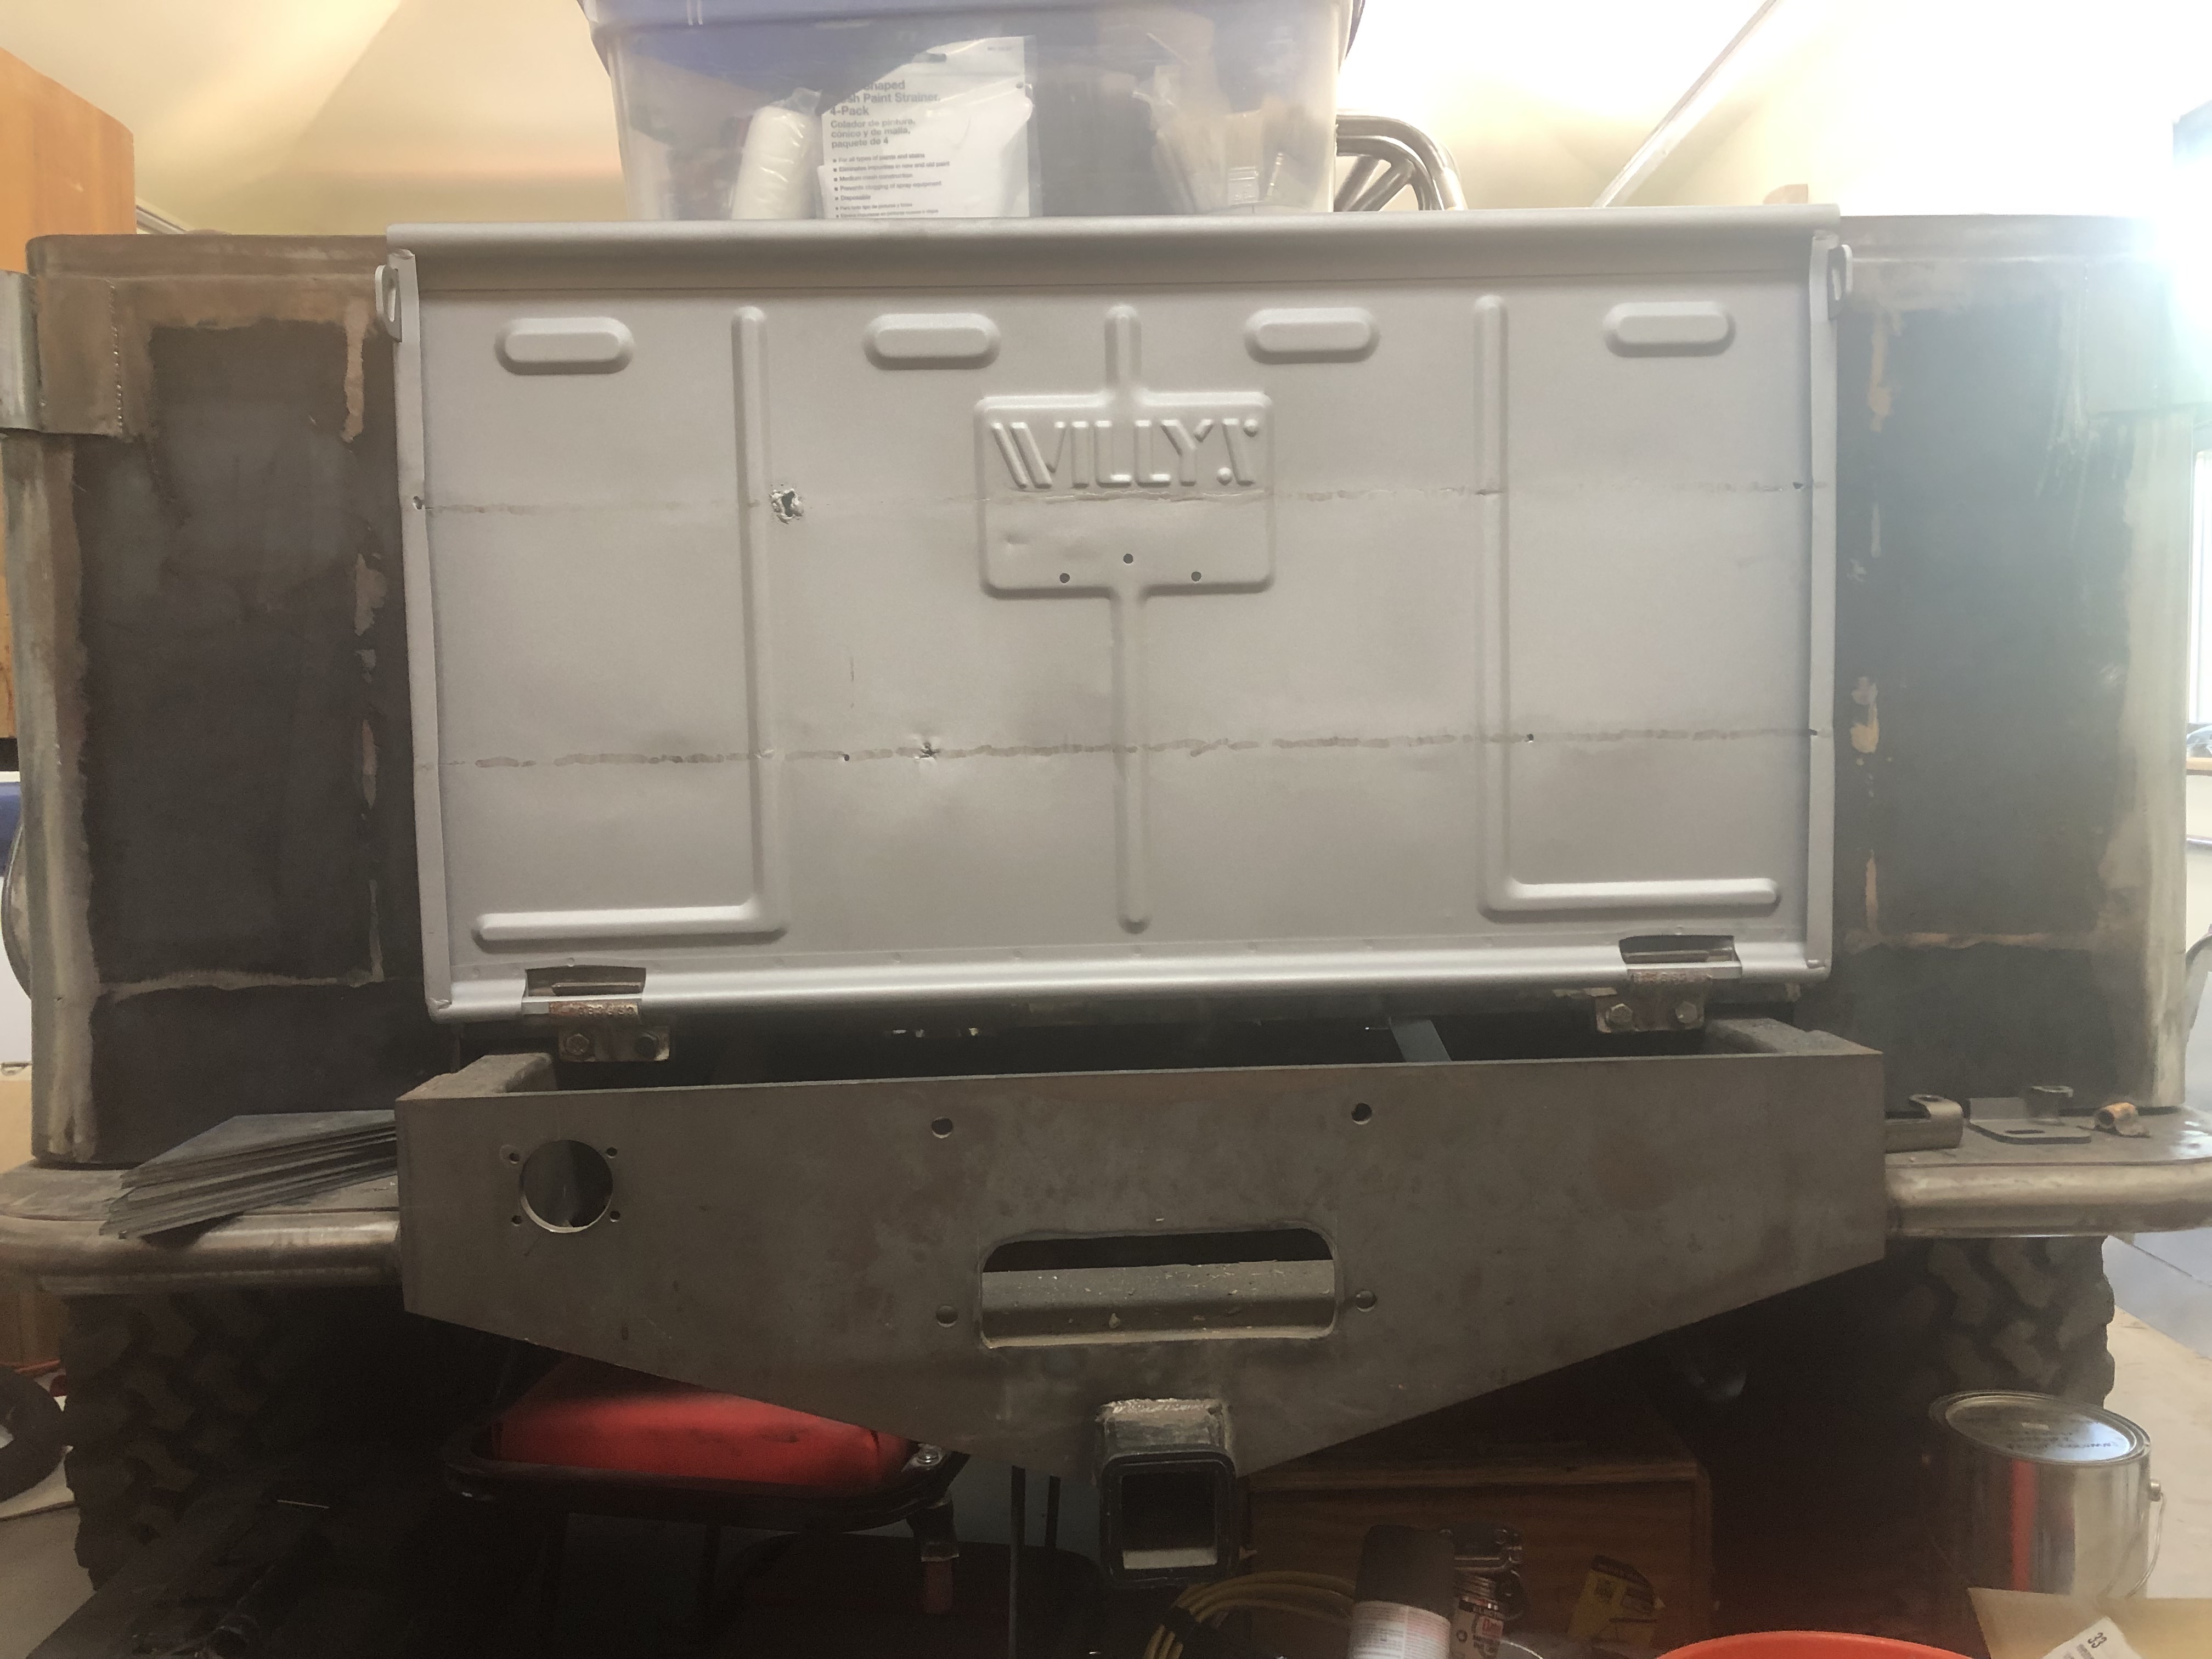
At this point I took it to North American Powder Coating, here in Tucson, for advice. They told me to get both sides sandblasted so no paint would be left on the inside where I would be adding a backing sheet. It came back looking like this. Spiffy!
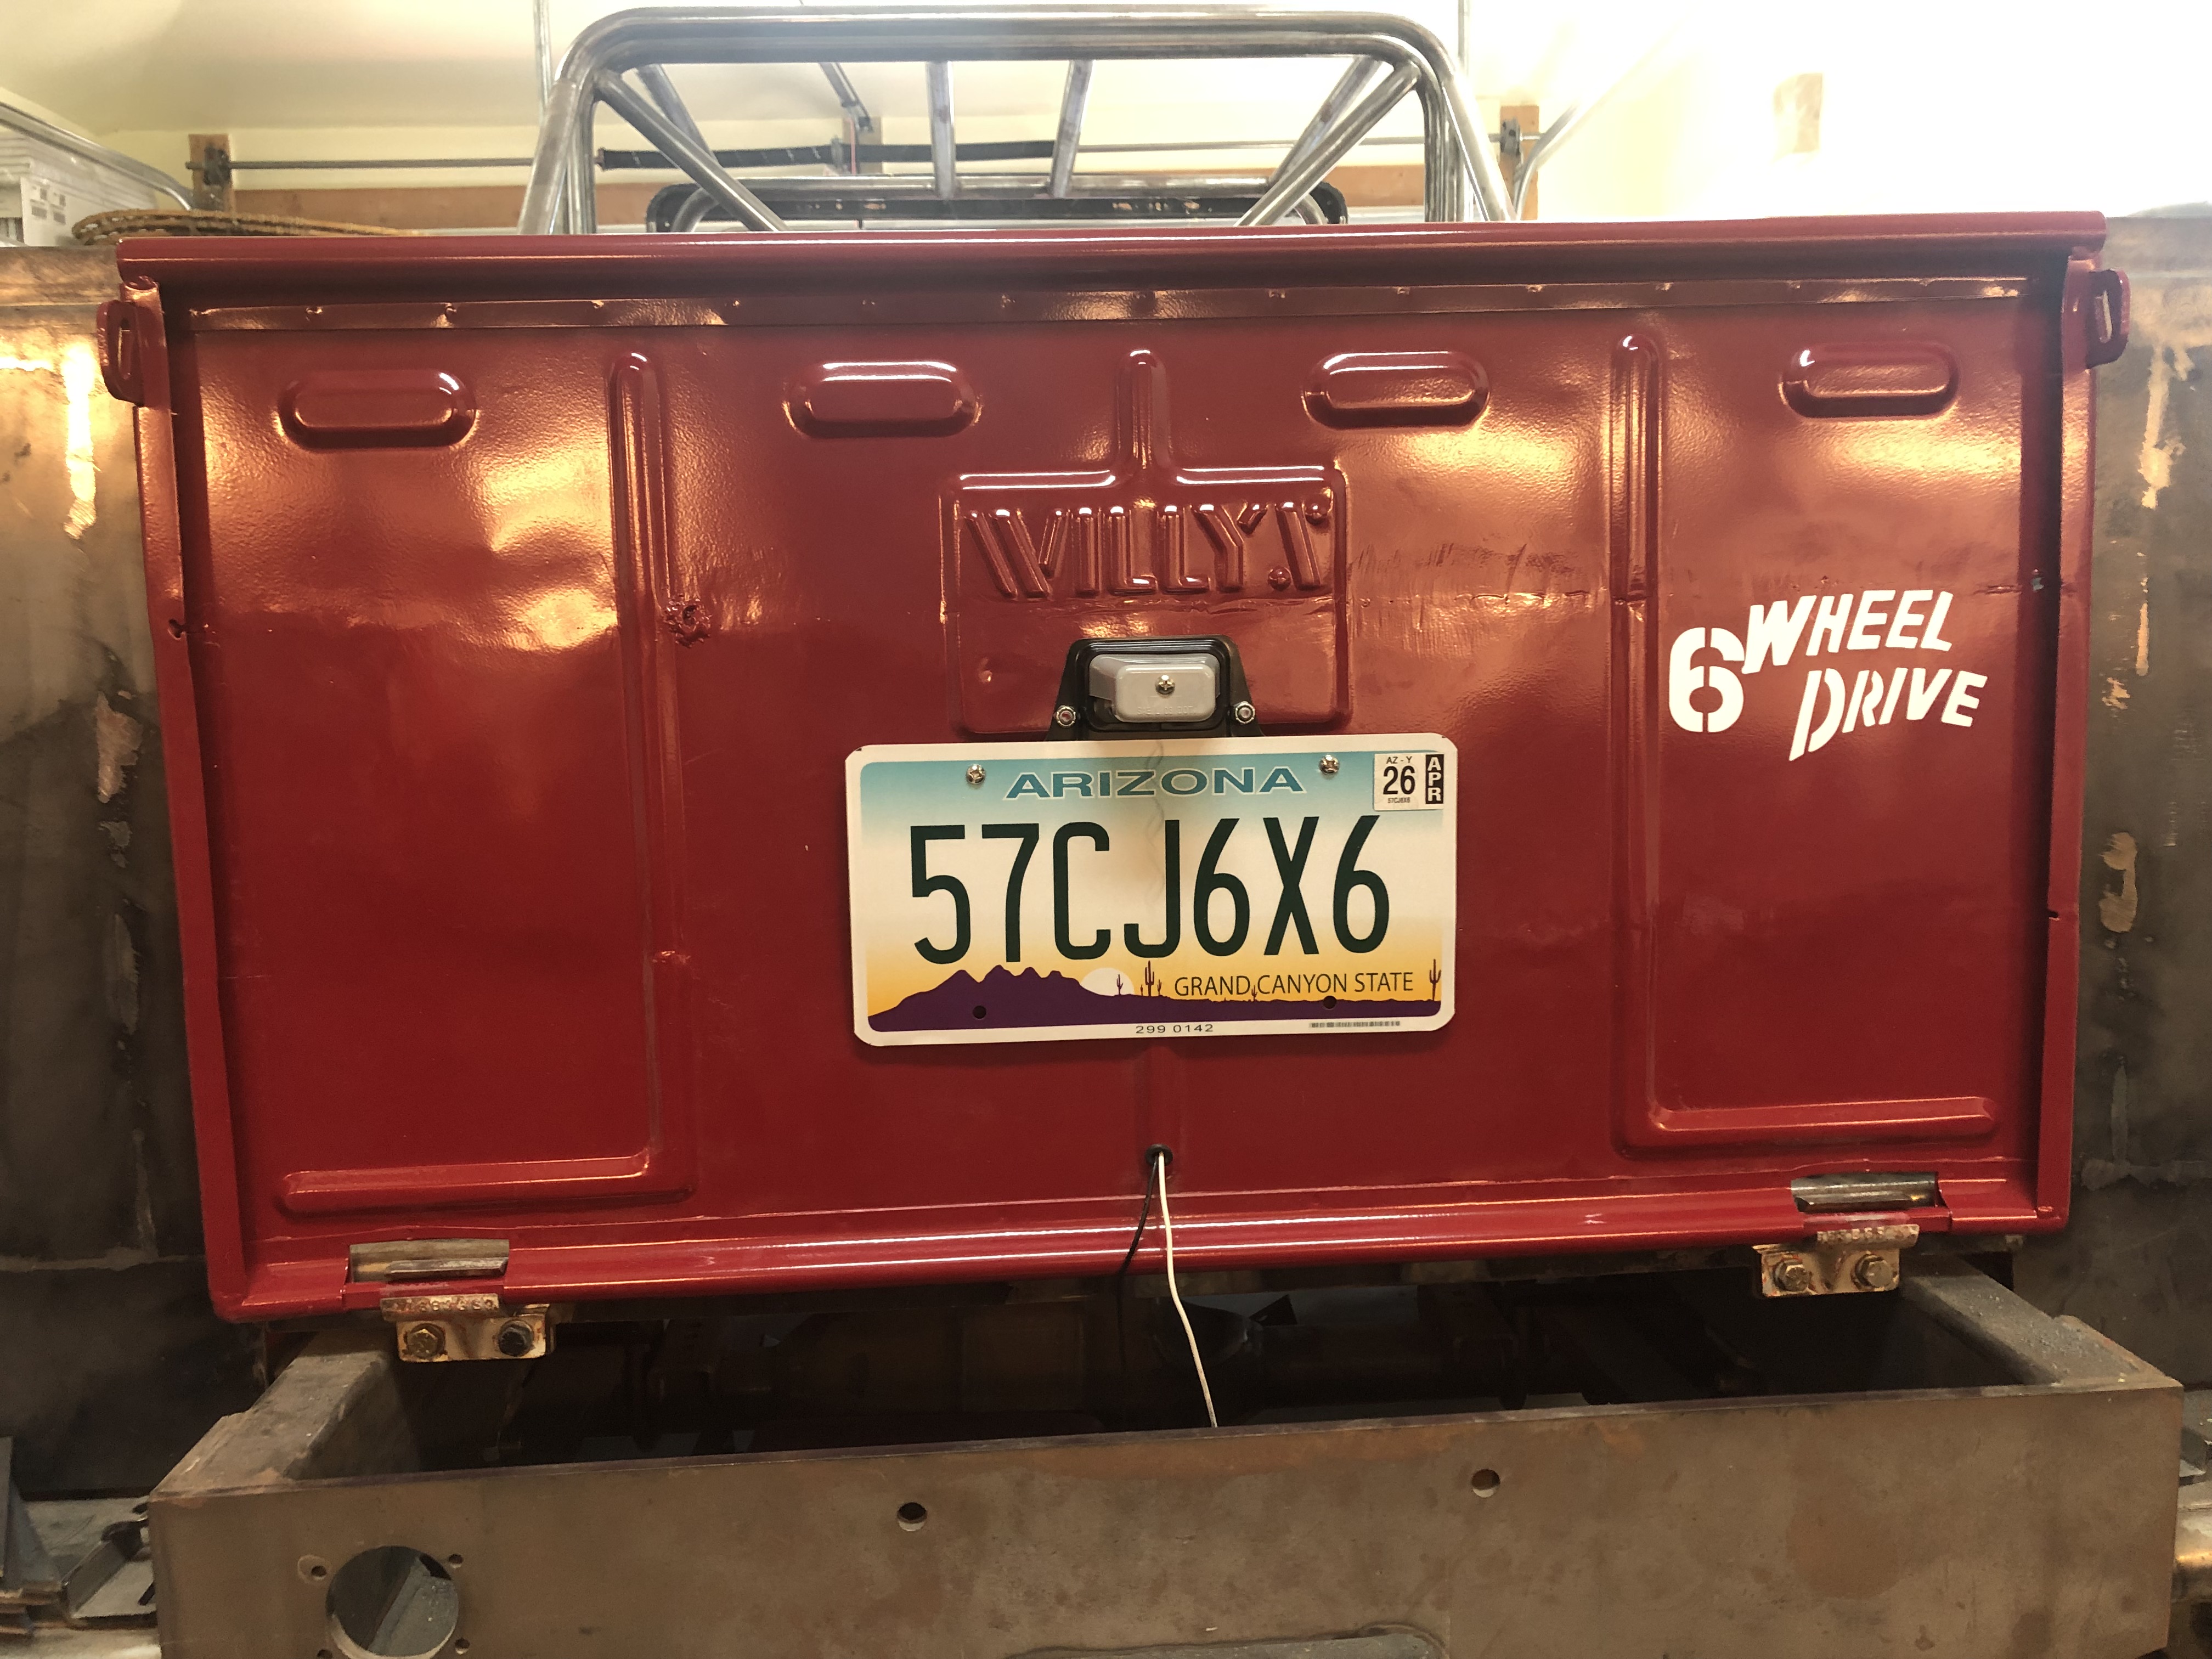
The three holes in the logo panel are for the future license-plate bracket – two for mounting bolts and one for the lamp wires.
I enlarged the middle hole (to fit a grommet) and added another hole at the bottom of the center rib (also to fit a grommet). Then I ran a temporary “fish wire” through the holes so I could run the license-plate lamp wires more easily with the backing plate welded on.
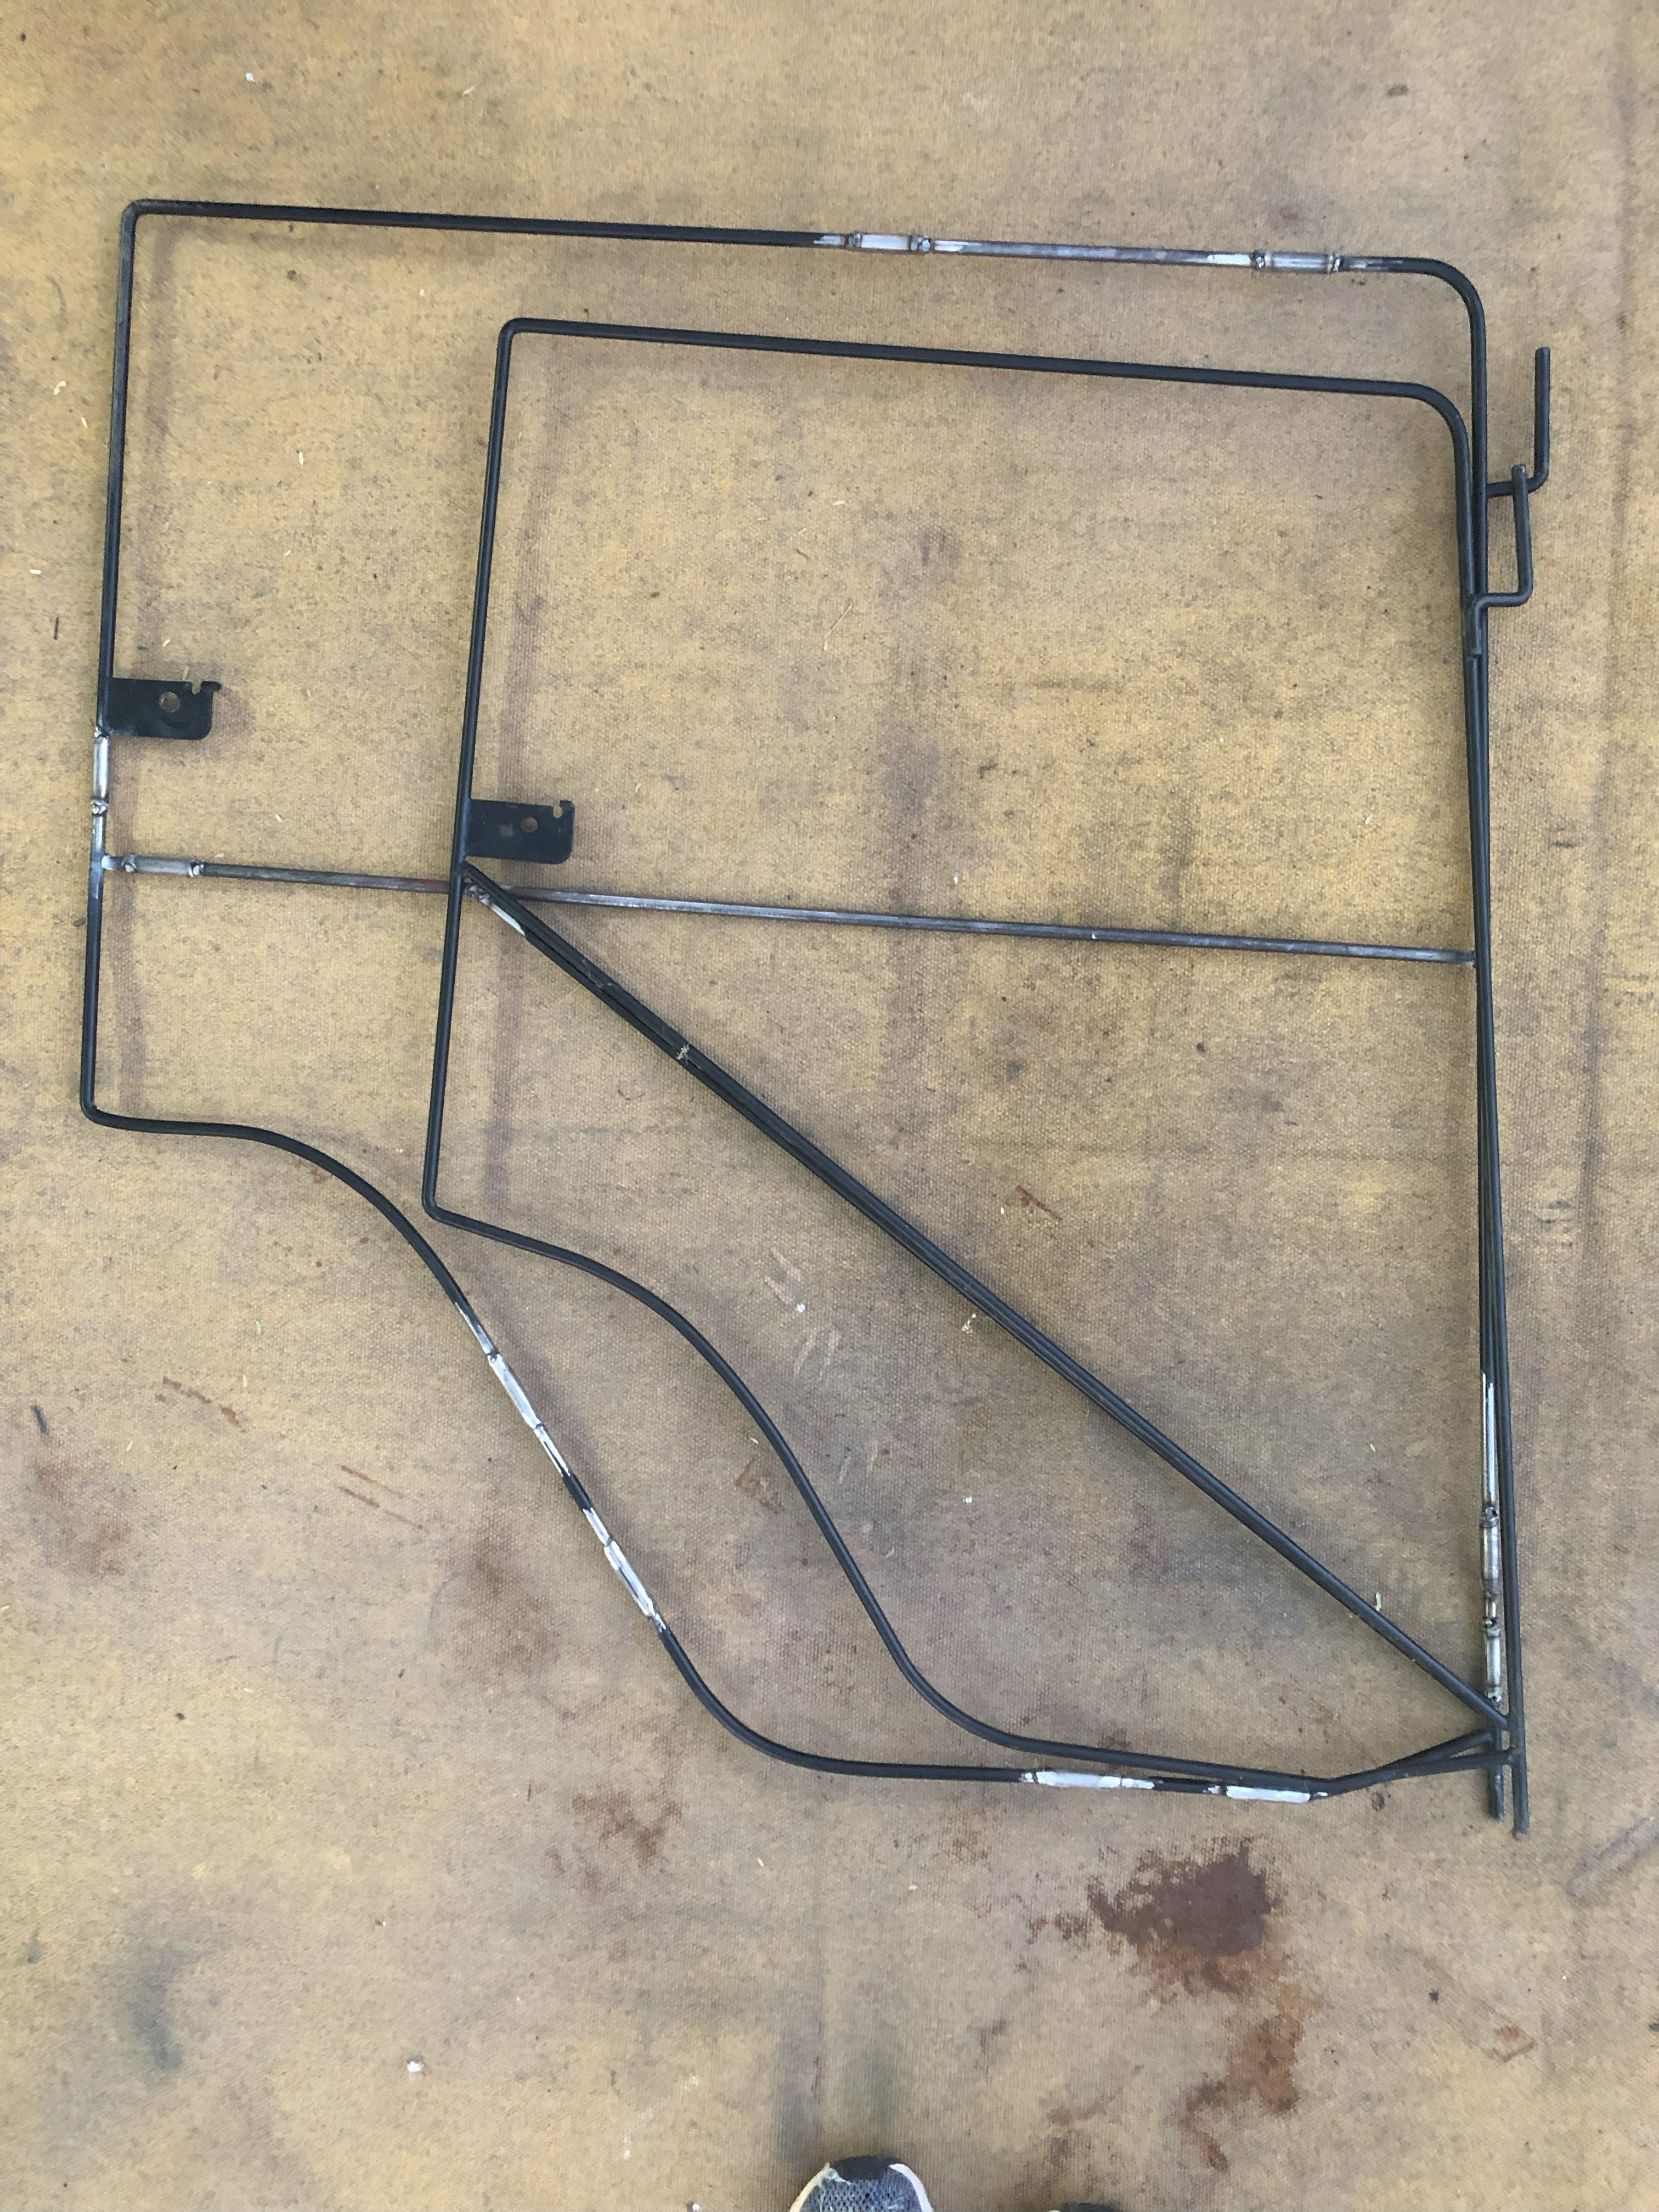
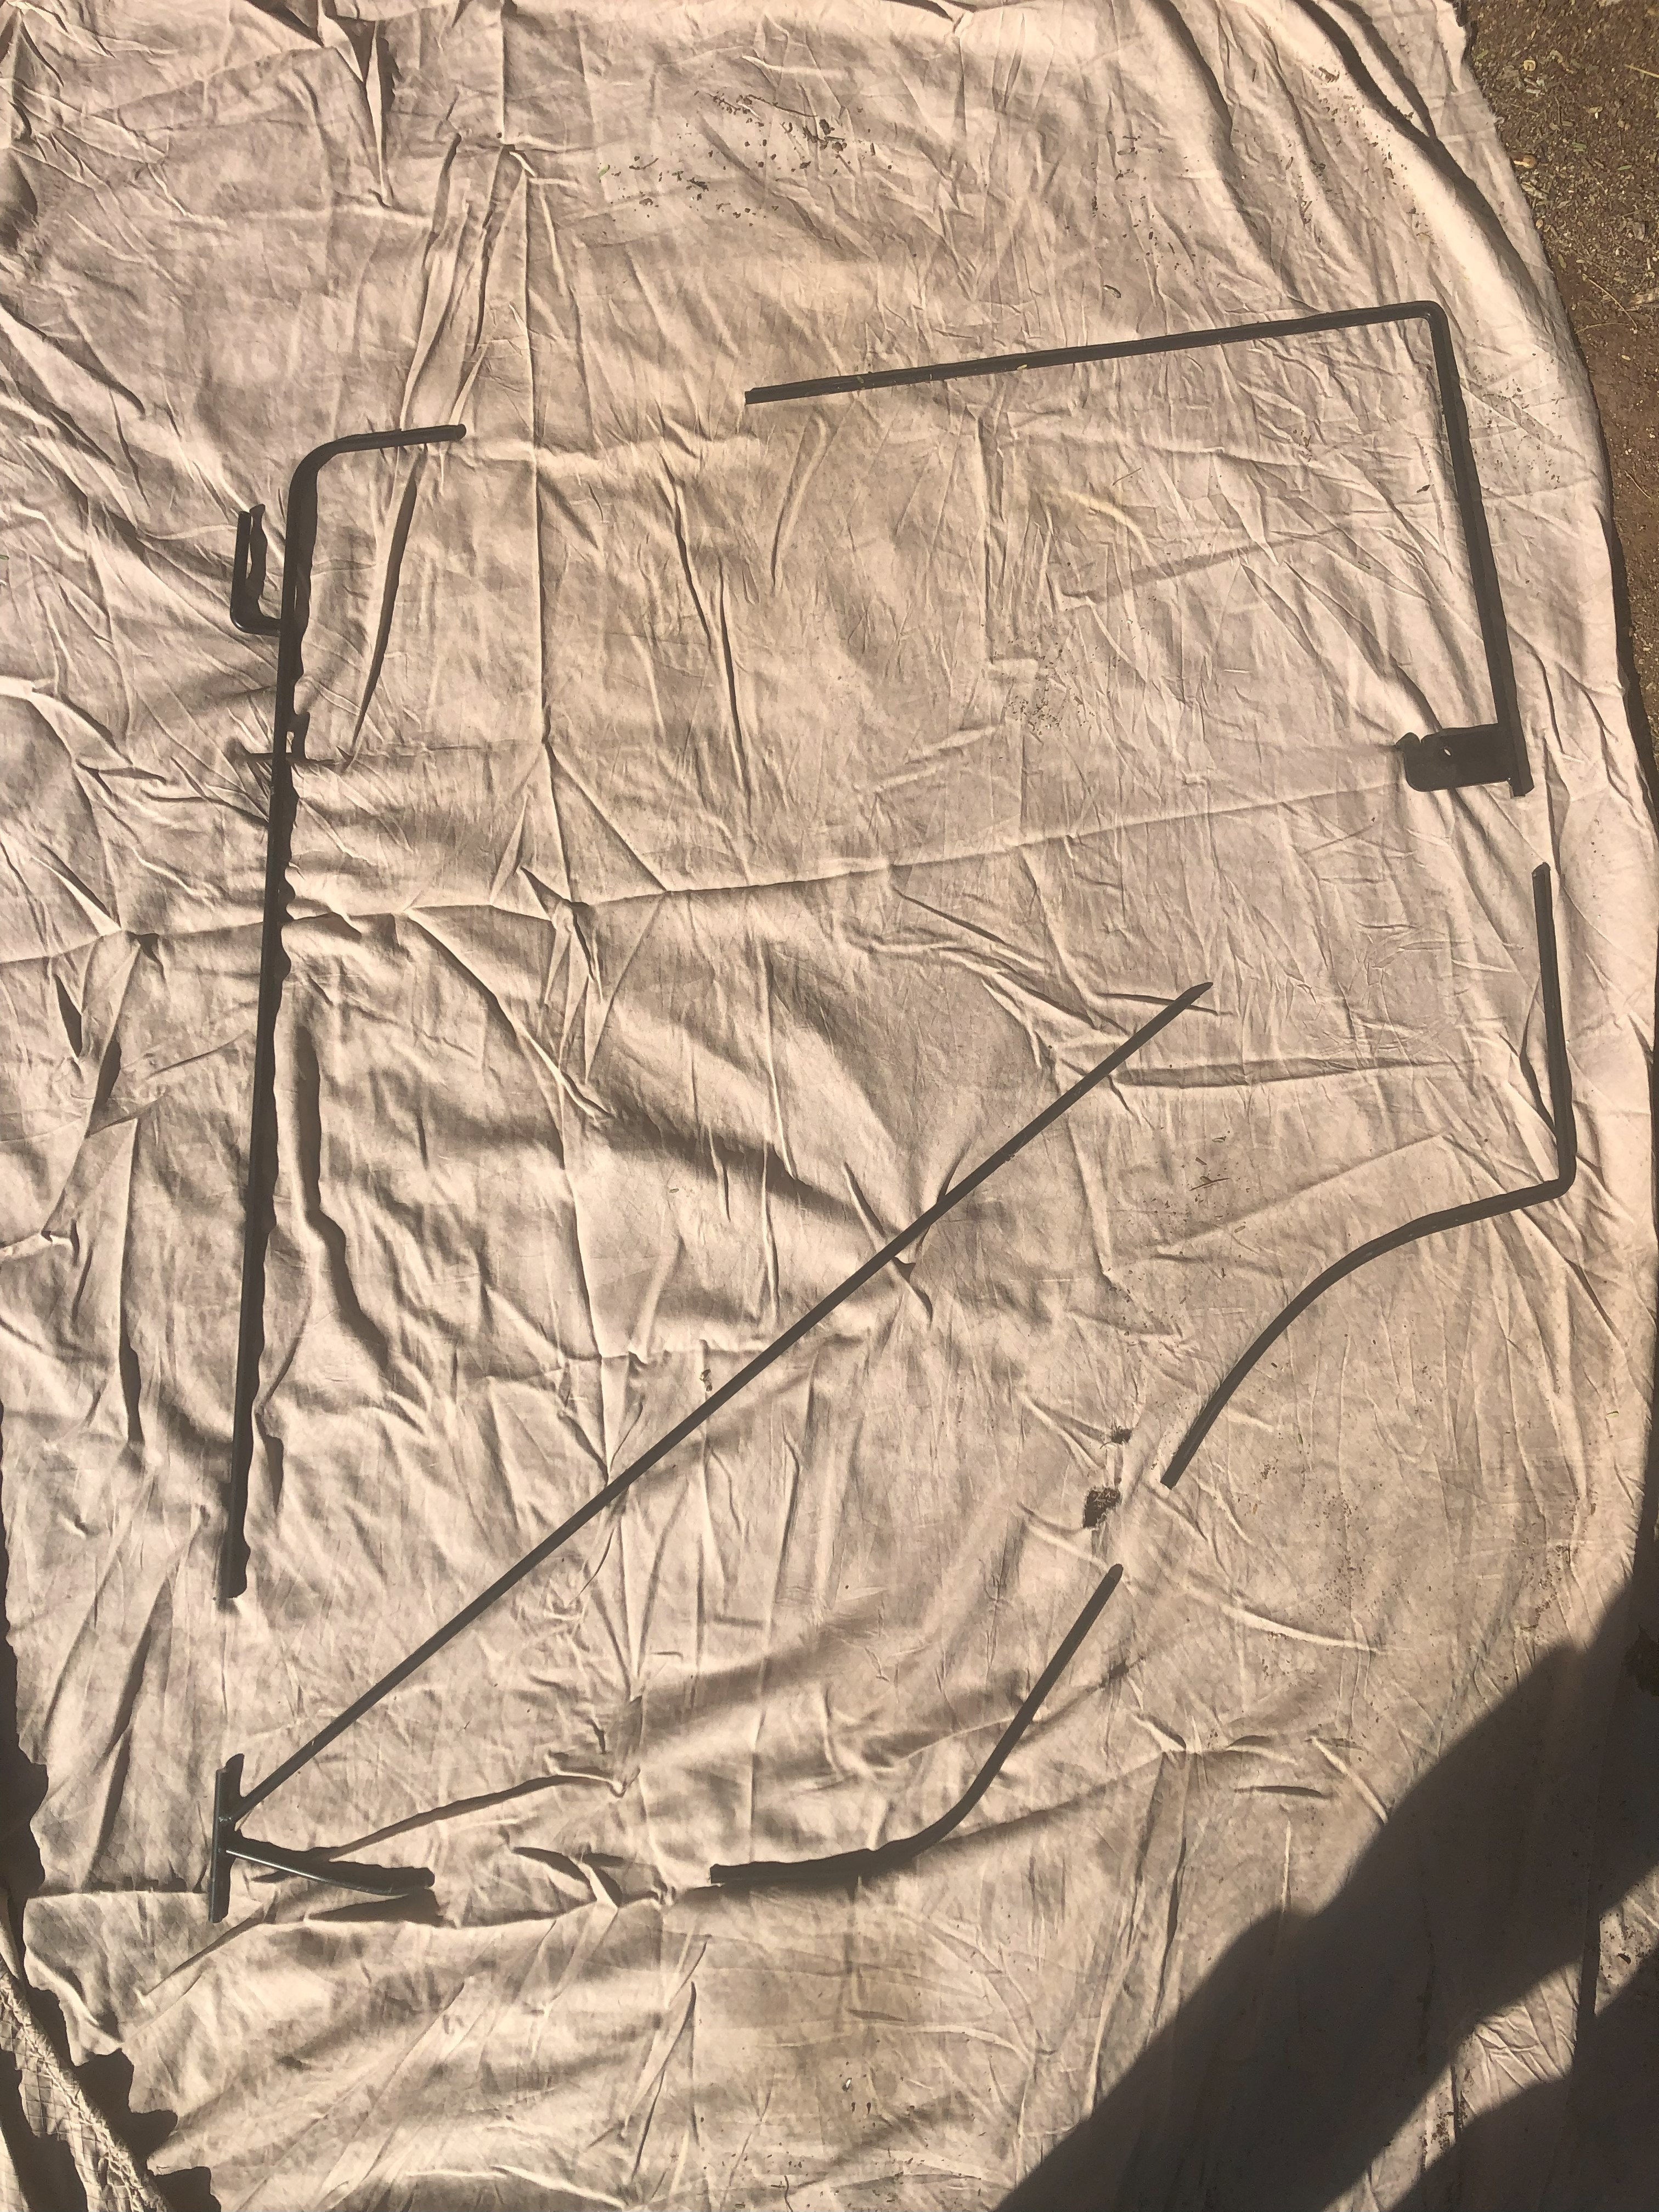
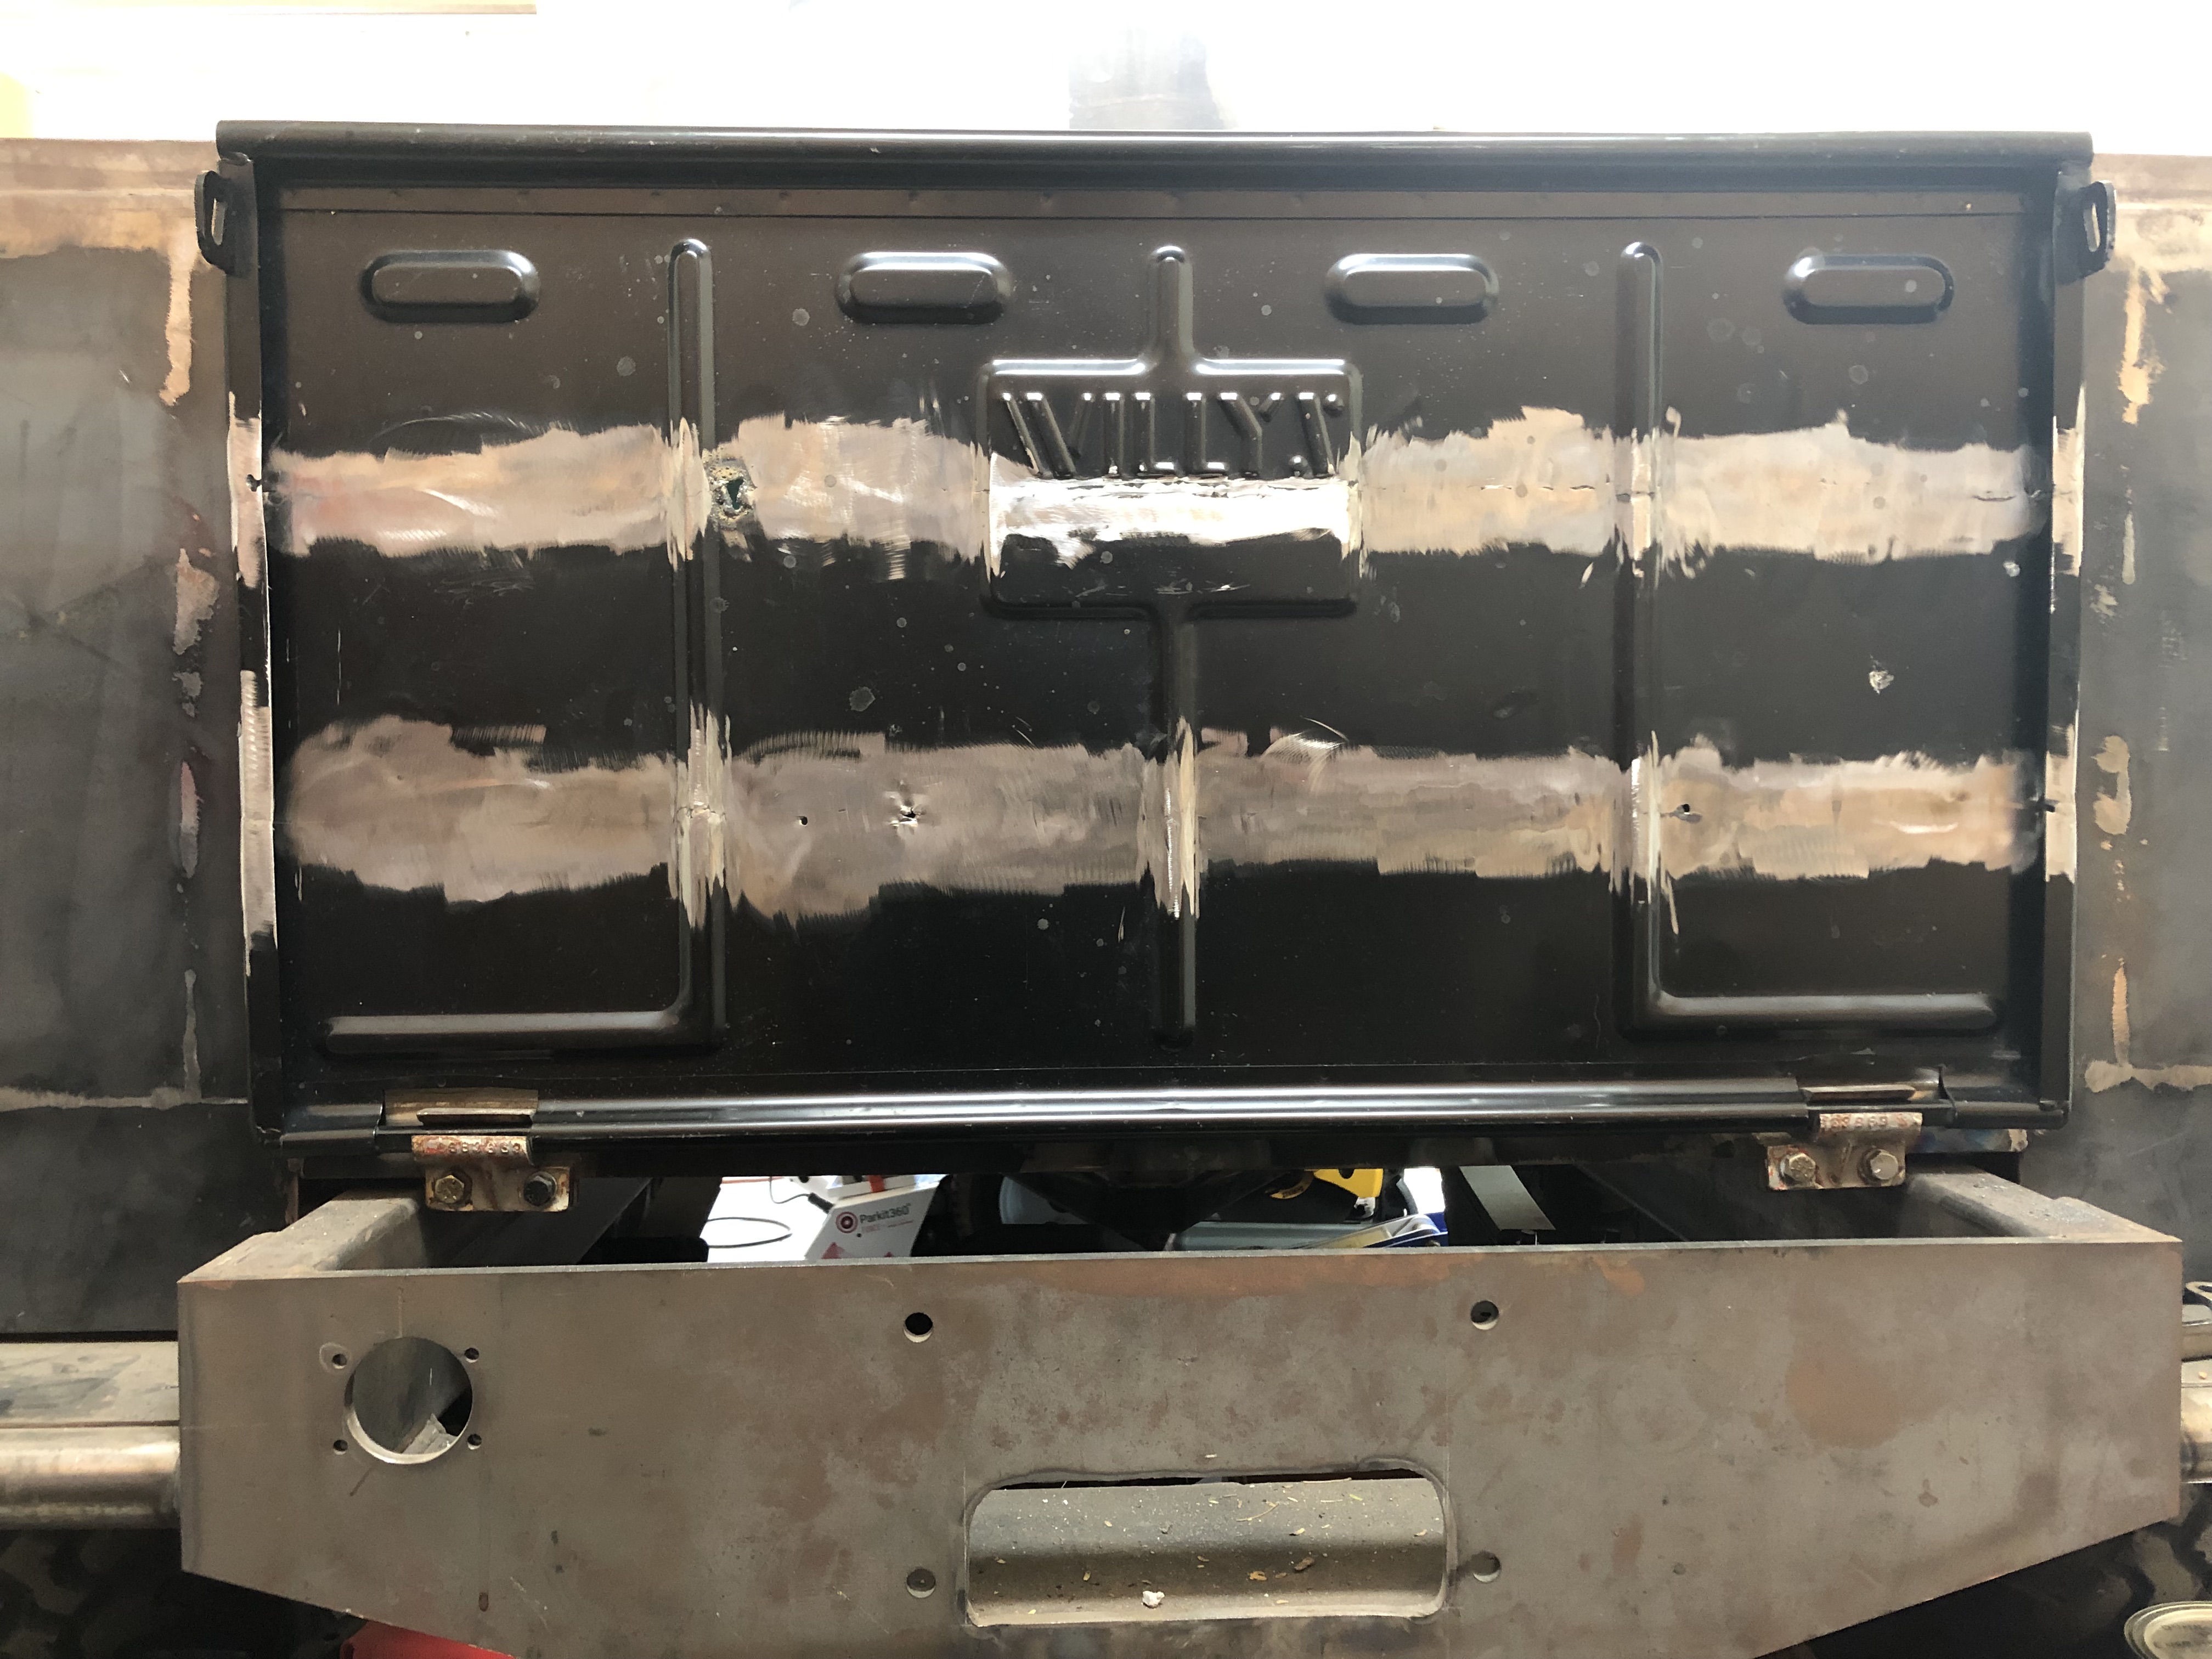
Then I added the plate. This time, instead of a solid weld around the perimeter, I only stitched it at each corner and every six inches or so along the edges. Here’s the finished product, front and back.
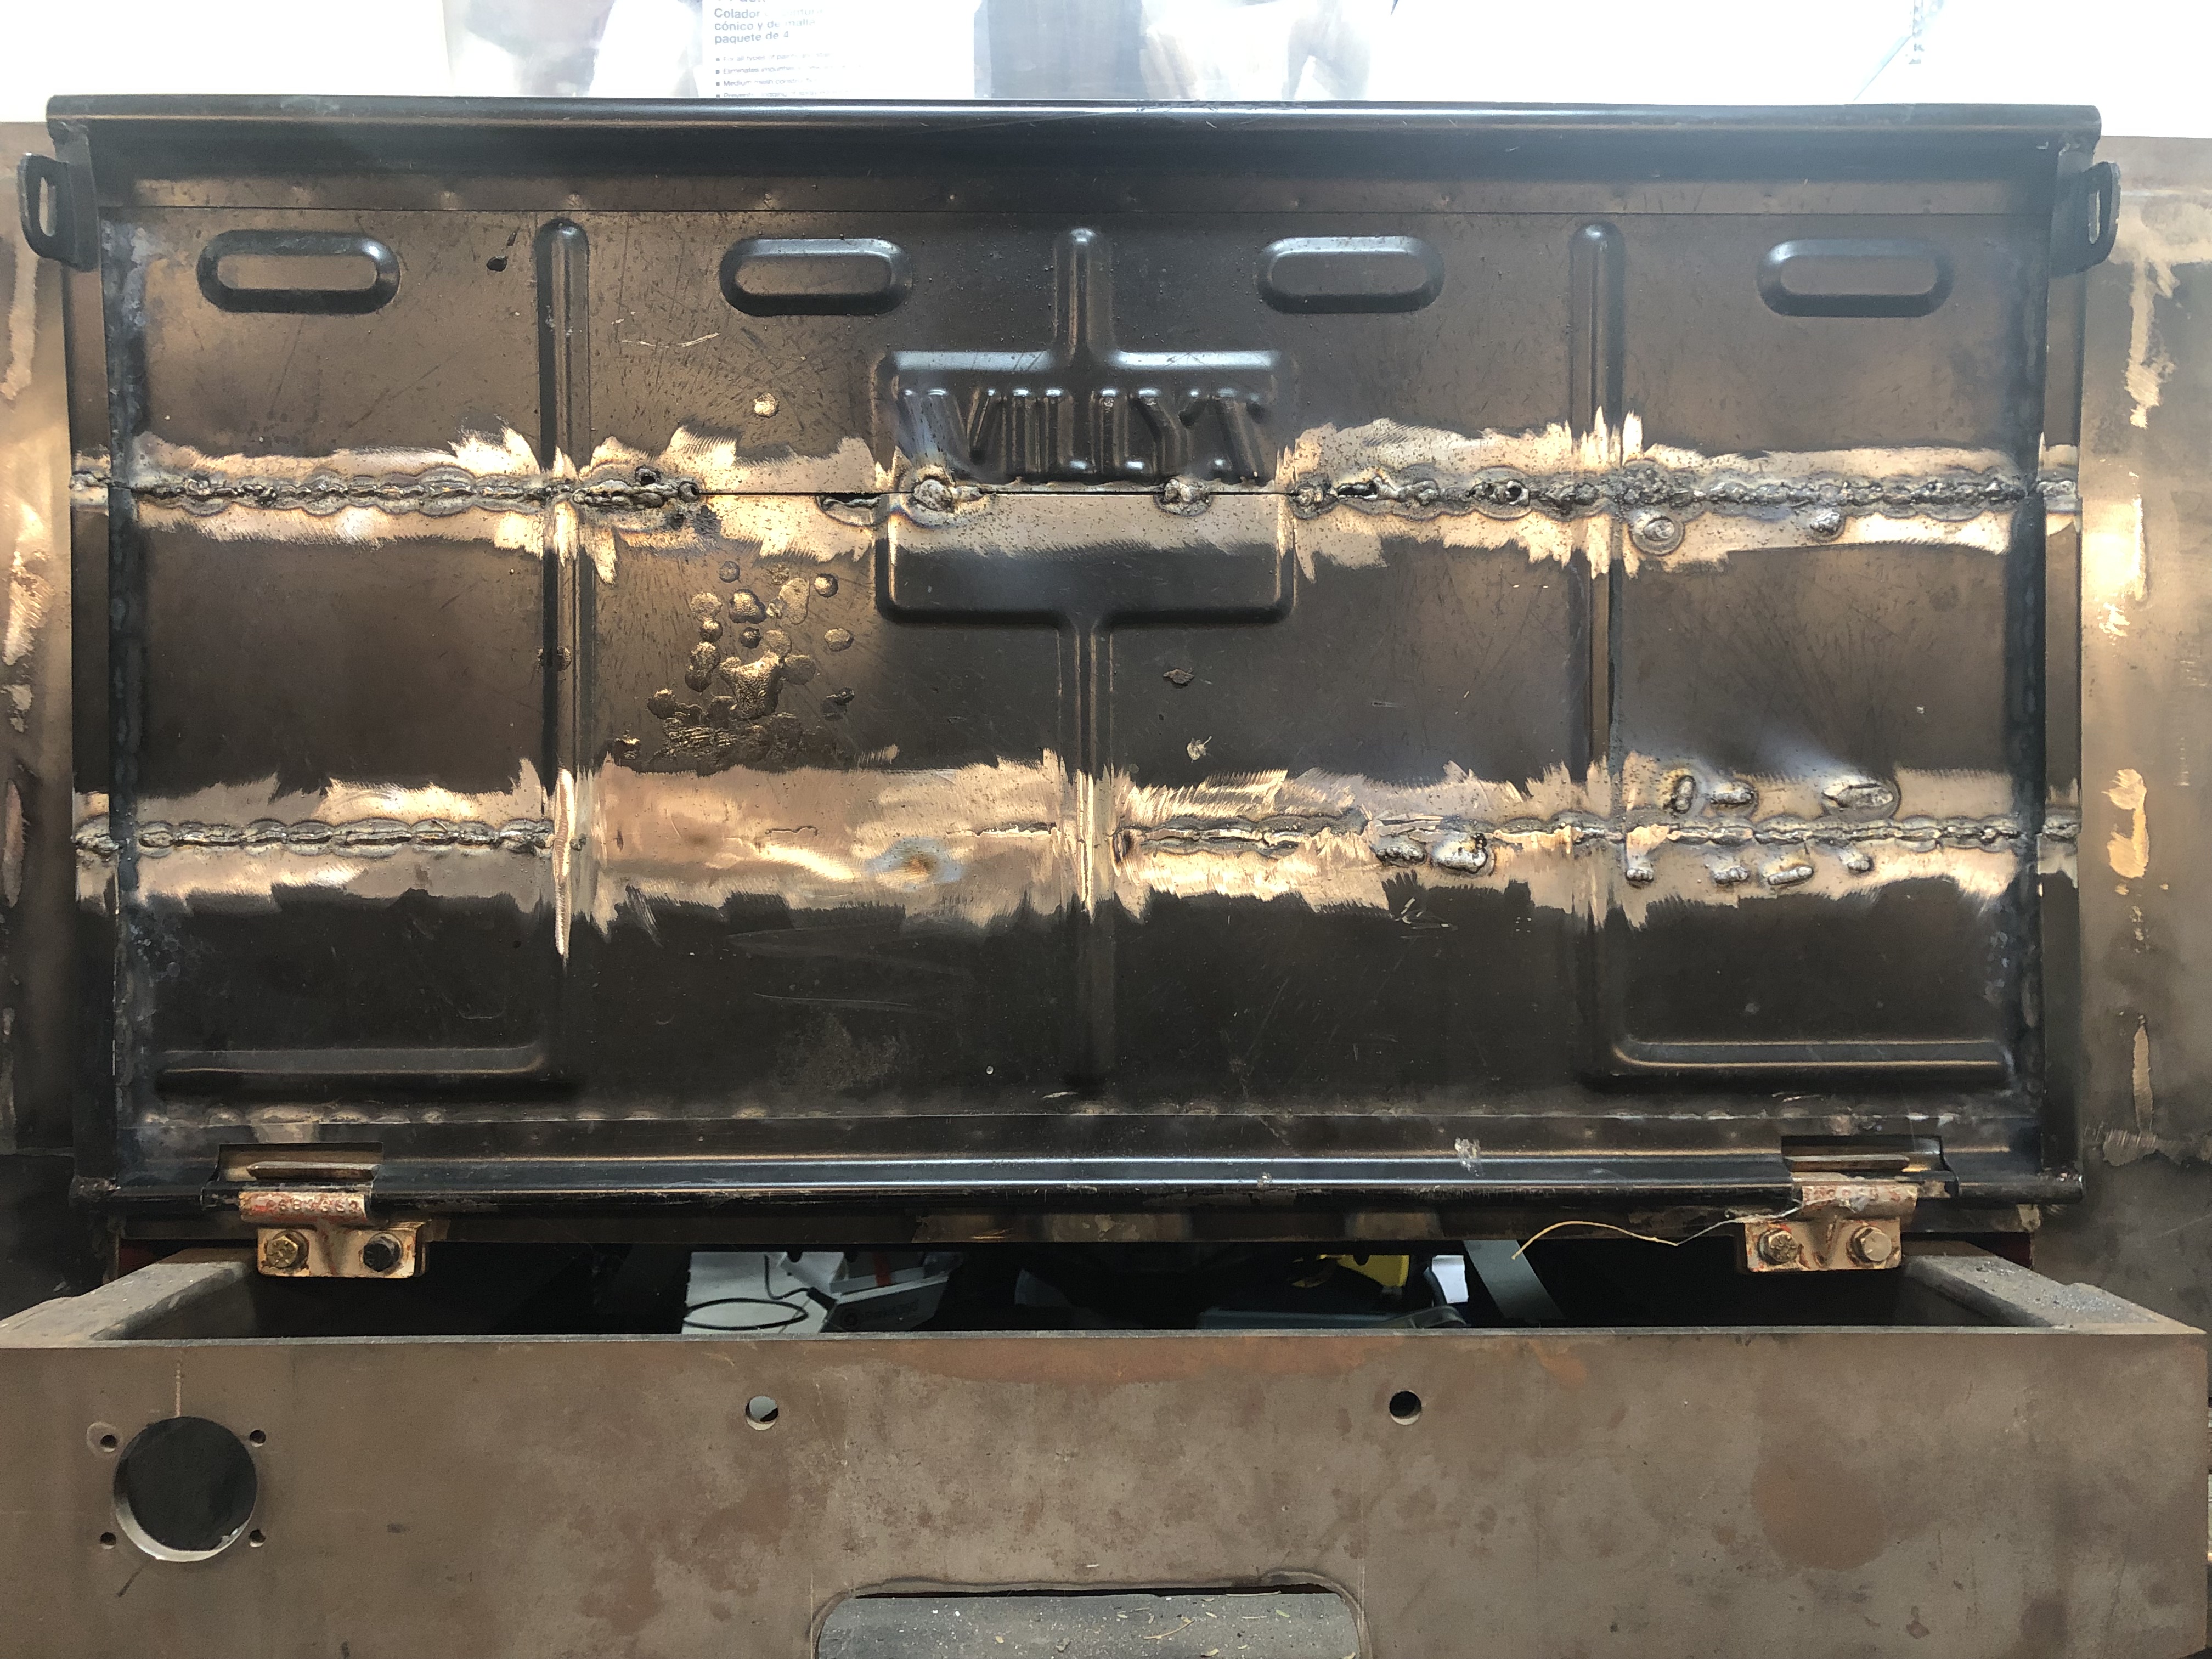
In the left photo you can see the “fish wire,” the bolts that will hold the license plate bracket, and places where the backing-plate welds heated all the way through. I also plugged (most of) the boo-boos and ground them down, leaving the “badge of honesty” and a couple of spots I deemed too hard to do anything about. On the right you can see the backing plate with the stitch welds and the heat-sink locations of the boo-boo repairs. If your eyes are REALLY sharp, you’ll notice that the plate’s top and bottom edges aren’t parallel to the tailgate edges. That’s because I managed to cut one side a quarter-inch longer than the other and decided to leave it that way.
Here’s the almost-finished tailgate, sitting on the ‘Monster. I took it to North American Powder Coating yesterday; it’ll be “Suddenly Red” in a couple of weeks.
And the lessons I learned?
One: If you have your heat and wire speed perfectly calibrated to the tailgate-and-welding-table combination, and you reach one of the table’s openings, you’ll burn through your sheet metal.
Two: If you have your heat and wire speed perfectly calibrated to the tailgate-and-welding-table combination, and you don’t burn through, you can *still* weld your tailgate to the table if you make too long a stitch.
Three: If you burn through your sheet metal, trying to fill the hole with weld before it cools off only makes the hole larger.
Four: Don’t use galvanized steel for anything to be powder coated. I don’t remember how the topic came up, but the folks at North American Powder Coating said the stuff doesn’t stick to the galvanizing. So that would have been another issue with V1.0, as I used galvanized steel for the backing plate on that iteration.
But hey. I have a tailgate that I made all by my lonesome! And I’m darn proud of it, too!